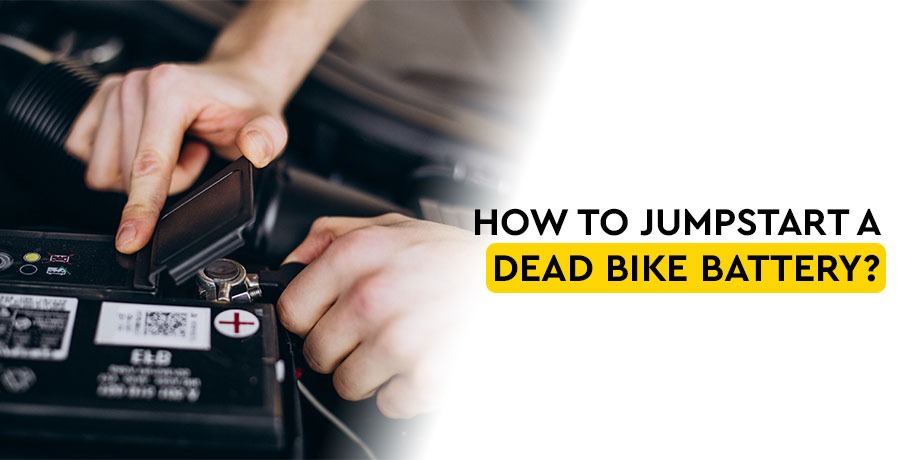
Welcome to Tesla Power USA's ultimate guide on jumpstarting a dead bike battery! We understand the frustration of being stranded with a lifeless battery, and that's why we're here to help. In this comprehensive blog, we will walk you through the step-by-step process of jumpstarting your bike, ensuring you're back on the road in no time. So, let's dive in and bring your ride back to life!
- Assess the Situation: Before attempting to jumpstart your bike battery, it's crucial to assess the situation. Check for any visible signs of damage or corrosion on the battery terminals. Ensure you have access to another vehicle with a functioning battery or a portable jump starter. Safety should always be a priority, so put on gloves and safety glasses before proceeding.
- Prepare the Jumper Cables: Now that you're ready to begin, gather a set of quality jumper cables. Ensure they are long enough to reach between the two vehicles comfortably. Ideally, use heavy-duty cables with insulated clamps for added safety. Identify the positive (+) and negative (-) terminals on both batteries.
- Connect the Jumper Cables: Start by connecting the positive (+) clamp of the jumper cables to the positive (+) terminal of the dead bike battery. Then, attach the other end of the positive (+) clamp to the positive (+) terminal of the working battery or jump starter. Next, connect the negative (-) clamp of the jumper cables to the negative (-) terminal of the working battery or jump starter. Finally, attach the remaining negative (-) clamp to a clean, metal part of the bike's frame or engine block, away from the battery.
- Jumpstart the Battery: With the cables securely connected, it's time to jumpstart the battery. Start the vehicle with the working battery or activate the jump starter, allowing it to run for a few minutes. This will transfer power to the dead bike battery. After a short while, attempt to start your bike. If it doesn't start immediately, give it a few more minutes, as a severely depleted battery may take longer to charge.
- Disconnect the Jumper Cables: Once your bike starts, let it run for a few minutes to allow the battery to recharge. It's essential to disconnect the jumper cables in the correct order to avoid any electrical mishaps. Begin by removing the negative (-) clamp from the bike's frame or engine block. Then, detach the negative (-) clamp from the working battery or jump starter. Finally, remove the positive (+) clamp from both batteries.
Congratulations! You've successfully jumpstarted your dead bike battery using Tesla Power USA's expert guide. Remember, regular maintenance and charging can help prevent dead batteries in the future. Stay prepared by carrying a portable jump starter, and always prioritize safety. Now, get back on the road and enjoy the thrill of riding once again!
By following these simple steps and relying on Tesla Power USA's expertise, you can confidently jumpstart your dead bike battery and get back to enjoying the open road. Remember, safety is paramount, so always exercise caution and seek professional assistance if needed. Happy riding!


