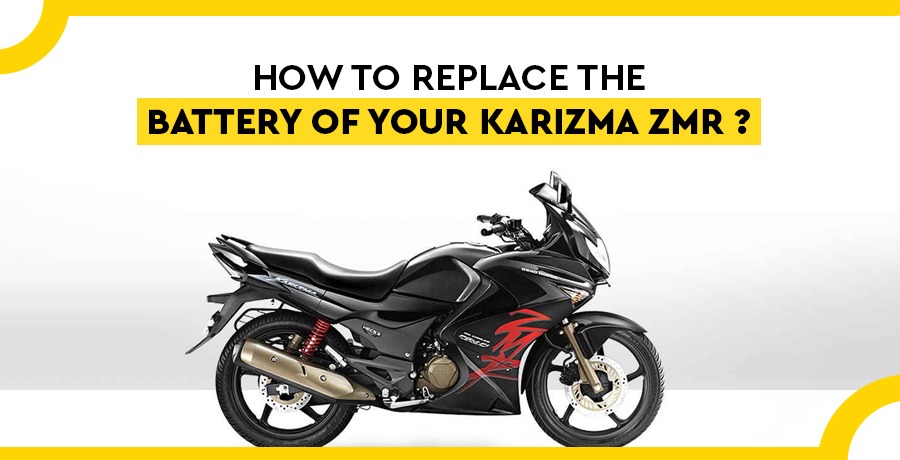
Is your Karizma ZMR motorcycle showing signs of a weak battery? Don't worry; replacing the battery is a manageable task that you can do on your own with a bit of guidance.
In this step-by-step guide, we will walk you through the process of replacing the battery of your Karizma ZMR, ensuring that your motorcycle runs smoothly and efficiently.
Step 1: Gather the Necessary Tools and Materials
Before you begin, make sure you have the following tools and materials ready:
- New compatible battery for your Karizma ZMR
- Socket set
- Wrench
- Safety gloves and goggles
- Battery terminal cleaner or a mixture of baking soda and water
- Wire brush
Step 2: Safety First
Ensure your safety by wearing gloves and goggles throughout the process. Working with batteries can be hazardous, so it's crucial to protect your hands and eyes from any corrosive materials.
Step 3: Disconnect the Old Battery
- Locate the Battery: The battery is typically located beneath the seat or side panel of your Karizma ZMR. Consult your owner's manual if you're unsure about its placement.
- Disconnect the Cables: Using a wrench or socket set, loosen and remove the negative (-) terminal first. Then, remove the positive (+) terminal. This sequence is important to prevent short circuits.
- Remove the Old Battery: Carefully take out the old battery from its compartment.
Step 4: Prepare the New Battery
- Clean the Terminals: If there's corrosion on the cables or terminals, clean them using a wire brush or a mixture of baking soda and water. Ensure they are completely clean before proceeding.
- Install the New Battery: Place the new battery into the compartment, securing it properly to prevent movement during rides.
Step 5: Reconnect the Cables
- Connect the Positive Terminal: Attach the positive cable (+) to the positive terminal of the new battery and tighten it securely.
- Connect the Negative Terminal: Similarly, attach the negative cable (-) to the negative terminal of the battery and ensure it's tight and secure.
Step 6: Test the Battery
Turn on your motorcycle and check if it starts without any issues. If it starts smoothly, congratulations, you've successfully replaced the battery of your Karizma ZMR!
Step 7: Dispose of the Old Battery Responsibly
Old batteries contain hazardous materials and should be disposed of properly. Take your old battery to a recycling centre or an auto parts store that accepts used batteries for recycling.
By following these steps, you can replace the battery of your Karizma ZMR safely and efficiently. Regular maintenance, including battery replacement when necessary, ensures that your motorcycle continues to perform optimally on the road. Remember, if you're ever unsure about the process, it's best to consult a professional mechanic for assistance. Safe riding!


